Short Description
Indulge in the sweet, creamy delight of homemade No-Churn Cherry Ice Cream, bursting with luscious cherry flavor and a velvety texture. This easy recipe requires no ice cream maker, making it perfect for anyone looking to whip up a delicious frozen treat with minimal effort. Fresh or frozen cherries add a vibrant taste, while the creamy base ensures a rich, smooth consistency. Whether enjoyed on its own or paired with your favorite desserts, this no-churn ice cream is a must-try for cherry lovers.
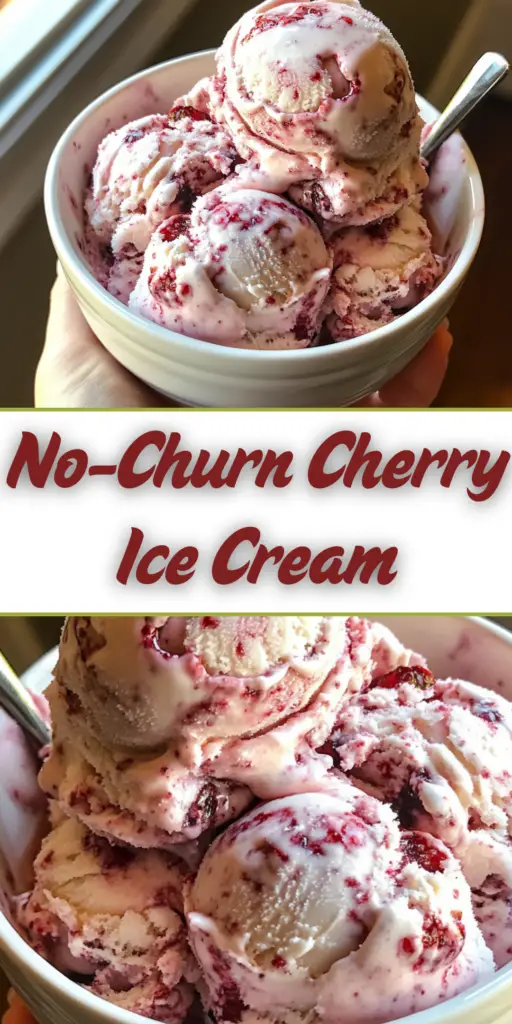
Why You’ll Love This Recipe
- No Ice Cream Maker Required – Skip the special equipment and make this ice cream with just a few basic kitchen tools.
- Rich, Creamy Texture – Thanks to the perfect combination of sweetened condensed milk and heavy cream, this ice cream is ultra-smooth and creamy.
- Bursting with Cherry Flavor – Fresh or frozen cherries provide natural sweetness and a tart contrast to the creamy base.
- Easy to Customize – Add chocolate chips, nuts, or a swirl of cherry syrup for a personalized touch.
- Perfect Summer Treat – A refreshing and delightful way to enjoy cherries in the warm months.
Ingredients
- Cherries (fresh or frozen)
- Sweetened condensed milk
- Heavy whipping cream
- Vanilla extract
- Lemon juice
- Sugar (optional, depending on cherry sweetness)
- Salt
Directions
- Prepare the Cherries – Pit and chop the cherries, then cook them in a saucepan over medium heat with a little sugar and lemon juice. Stir occasionally until the cherries soften and release their juices. Allow the mixture to cool completely.
- Whip the Cream – In a large mixing bowl, beat the heavy whipping cream until stiff peaks form. Be careful not to overwhip.
- Combine Ingredients – Gently fold in the sweetened condensed milk, vanilla extract, and a pinch of salt to the whipped cream. Stir until just combined.
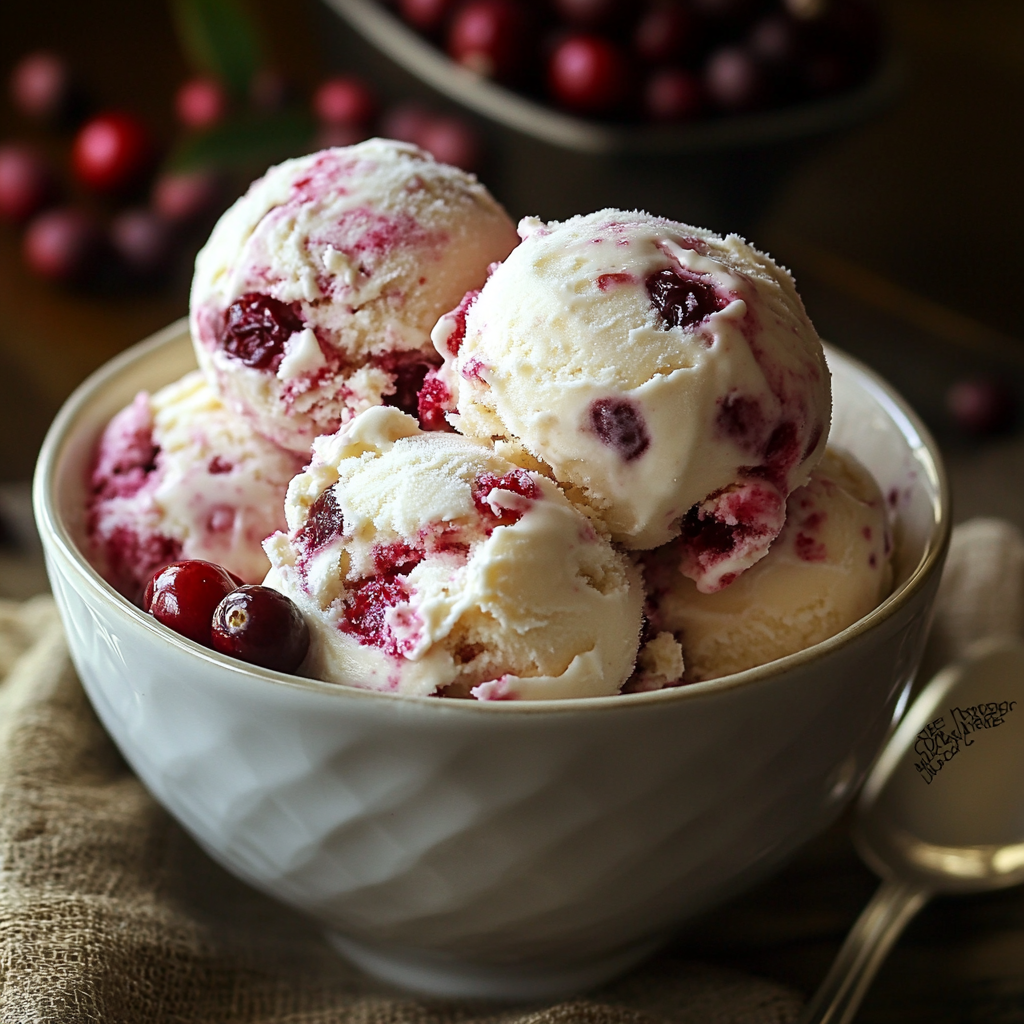
- Add the Cherries – Fold the cooled cherry mixture into the ice cream base, creating swirls for a marbled effect.
- Freeze the Mixture – Transfer the mixture to a freezer-safe container, spreading it evenly. Cover with plastic wrap or an airtight lid.
- Freeze for at Least 4-6 Hours – Let the ice cream set in the freezer until firm.
- Serve and Enjoy – Scoop into bowls or cones and savor the creamy cherry goodness!
Variations
- Cherry Chocolate Chip – Stir in mini chocolate chips or chocolate shavings for a classic cherry-chocolate combination.
- Almond Cherry Delight – Add a few drops of almond extract for a nutty depth of flavor.
- Cherry Swirl – Blend a portion of the cherry mixture and swirl it into the ice cream base for a ribbon-like effect.
- Dairy-Free Option – Use coconut cream instead of heavy cream and condensed coconut milk for a lactose-free version.
- Boozy Cherry Ice Cream – Stir in a splash of cherry liqueur or amaretto for an adults-only treat.
Servings and Timing
- Prep Time: 15 minutes
- Cook Time: 10 minutes (for cherries)
- Freeze Time: 4-6 hours
- Total Time: Approximately 6 hours
- Servings: 6-8
Storage/Reheating
- Storage: Store the ice cream in an airtight container in the freezer for up to 2 weeks.
- Prevent Ice Crystals: Press plastic wrap directly onto the surface of the ice cream before sealing to minimize ice crystal formation.
- Softening Before Serving: Let the ice cream sit at room temperature for about 5-10 minutes before scooping for easier serving.
FAQs
How do I prevent my ice cream from being too hard?
Adding a small amount of alcohol (such as vodka or liqueur) or increasing the fat content helps keep the ice cream softer.
Can I use frozen cherries?
Yes! Just thaw them slightly before cooking to release their juices and enhance their natural sweetness.
Is it possible to make this sugar-free?
Yes, substitute sweetened condensed milk with a sugar-free version or use a mix of heavy cream and a sugar alternative.
Can I add mix-ins?
Absolutely! Chocolate chips, nuts, or even crushed cookies make great additions.
How long does homemade no-churn ice cream last?
For the best texture and flavor, enjoy it within two weeks, though it can last up to a month if stored properly.
What’s the best way to scoop frozen no-churn ice cream?
Run your ice cream scoop under warm water before scooping to make serving easier.
Can I use an alternative to condensed milk?
You can use a mix of heavy cream and sweetener, or try evaporated milk for a slightly less sweet option.
Does this recipe work with other fruits?
Yes! You can swap cherries for berries, peaches, or mangoes for a different flavor profile.
Can I use an electric mixer for the whipped cream?
Yes, a hand or stand mixer is the easiest way to whip cream to stiff peaks.
What container should I use for freezing?
A metal loaf pan works well, but any airtight, freezer-safe container will do.
Conclusion
This No-Churn Cherry Ice Cream is a foolproof way to enjoy a homemade frozen dessert without the need for special equipment. With its creamy texture, vibrant cherry flavor, and endless customization options, it’s sure to become a summer favorite. Whether enjoyed in a bowl, a cone, or alongside a slice of pie, this delightful treat is as easy to make as it is to love. Give it a try and enjoy the taste of homemade ice cream bliss!
Print
No-Churn Cherry Ice Cream
- Total Time: 6 hours
- Yield: 6-8 1x
Description
Enjoy the creamy, luscious taste of No-Churn Cherry Ice Cream with this easy homemade recipe. No ice cream maker required—just a few ingredients for the perfect summer treat!
Ingredients
- 2 cups cherries (fresh or frozen, pitted and chopped)
- 1 can (14 oz) sweetened condensed milk
- 2 cups heavy whipping cream
- 1 teaspoon vanilla extract
- 1 tablespoon lemon juice
- 2 tablespoons sugar (optional, depending on cherry sweetness)
- 1/4 teaspoon salt
Instructions
- Prepare the Cherries – Pit and chop the cherries, then cook them in a saucepan over medium heat with sugar and lemon juice. Stir occasionally until the cherries soften and release their juices. Allow the mixture to cool completely.
- Whip the Cream – In a large mixing bowl, beat the heavy whipping cream until stiff peaks form. Be careful not to overwhip.
- Combine Ingredients – Gently fold in the sweetened condensed milk, vanilla extract, and salt to the whipped cream. Stir until just combined.
- Add the Cherries – Fold the cooled cherry mixture into the ice cream base, creating swirls for a marbled effect.
- Freeze the Mixture – Transfer the mixture to a freezer-safe container, spreading it evenly. Cover with plastic wrap or an airtight lid.
- Freeze for at Least 4-6 Hours – Let the ice cream set in the freezer until firm.
- Serve and Enjoy – Scoop into bowls or cones and savor the creamy cherry goodness!
Notes
- Cherry Chocolate Chip – Stir in mini chocolate chips or chocolate shavings for a classic cherry-chocolate combination.
- Almond Cherry Delight – Add a few drops of almond extract for a nutty depth of flavor.
- Cherry Swirl – Blend a portion of the cherry mixture and swirl it into the ice cream base for a ribbon-like effect.
- Dairy-Free Option – Use coconut cream instead of heavy cream and condensed coconut milk for a lactose-free version.
- Boozy Cherry Ice Cream – Stir in a splash of cherry liqueur or amaretto for an adults-only treat.
- Prep Time: 15 minutes
- Freeze Time: 4-6 hours
- Cook Time: 10 minutes
- Category: desser, ice cream
- Method: No-Churn, Freezing
- Cuisine: American
Keywords: No-churn ice cream, cherry ice cream, homemade ice cream, easy frozen dessert, summer treat


No comment